
How to Set Up and Optimize Your eXantria Creator Profile

A Complete Step-by-Step Guide for New Creators
Your eXantria profile is the first thing potential subscribers see. A clean, professional, and well-optimized profile builds trust, increases conversions, and helps you stand out on a boutique platform focused on high-quality creators (especially models, lifestyle creators, photographers, and cosplay artists).
This guide walks you through the exact process from signup to a fully optimized creator profile, based on the current eXantria platform flow.
What You Need Before You Start
• A valid email address (or Google/Facebook account)
• High-quality photos for your avatar and cover
• A government-issued ID (passport, national ID, or driver’s license) for verification
• At least 3 pieces of content ready to upload
• A clear idea of your subscription price and niche
Step 1: Create Your Free Account
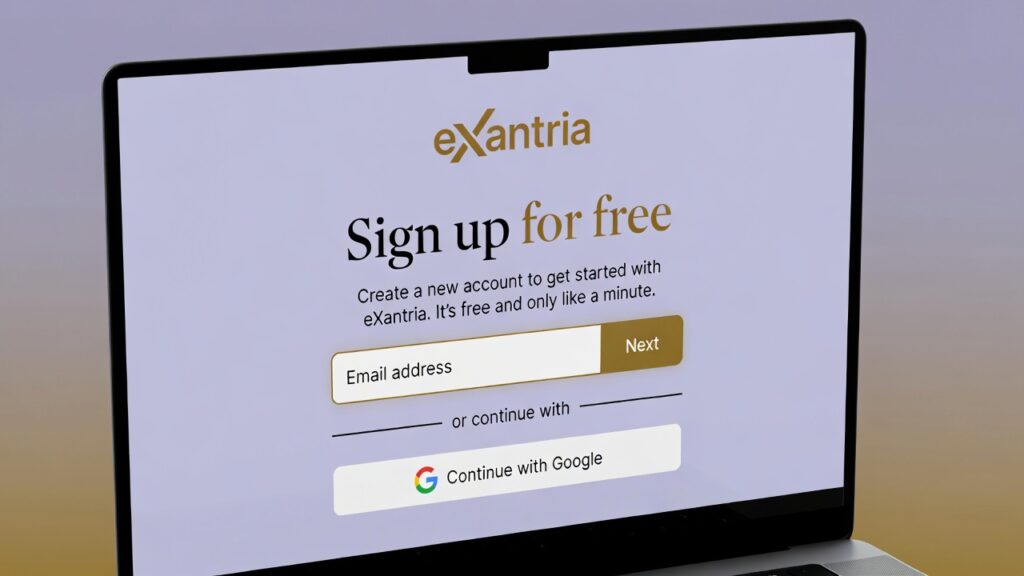
1. Go to https://exantria.com/signup (or the main site and click Sign Up).
2. Choose to register with email, Google, or Facebook.
3. Fill in your name, email, gender, and a strong password.
4. Agree to the terms and submit.
5. Check your email and click the confirmation link to activate the account.
6. Log in.
Step 2: Apply to Become a Creator
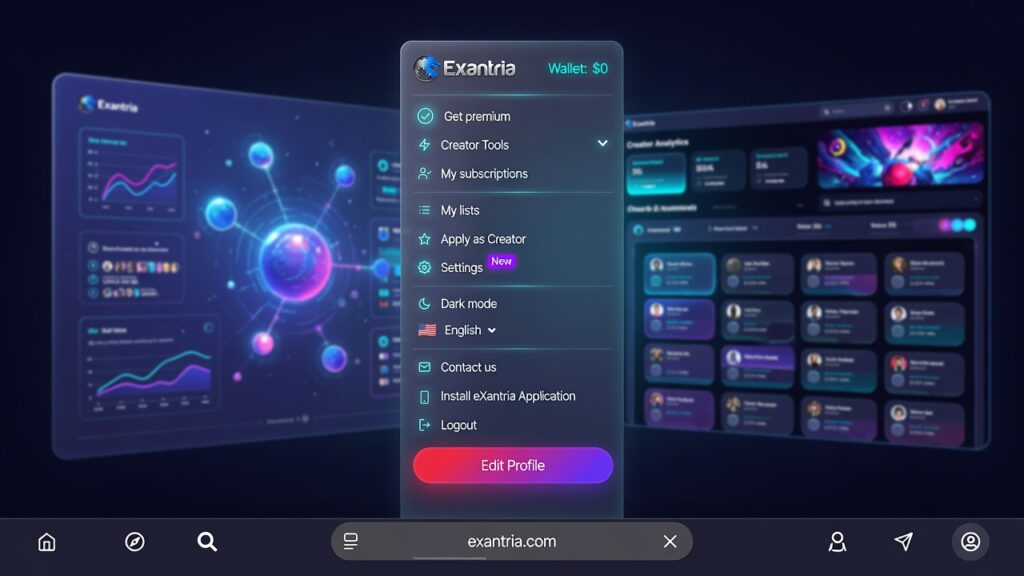
1. Once logged in, open the main menu (usually the three lines or profile icon).
2. Select “Apply as a Creator” or “Become a Creator”.
3. Click “Start Now”.
You will now enter the creator onboarding flow.
Step 3: Complete Your Basic Profile Information
1. Choose a unique and memorable username (this becomes your public profile link: exantria.com/YourUsername).
Tip: Keep it consistent with your Instagram or TikTok handle if possible.
2. Select your Country and City.
3. Enter your Date of Birth (must be 18+).
4. Write a short bio (this is crucial — see optimization tips below).
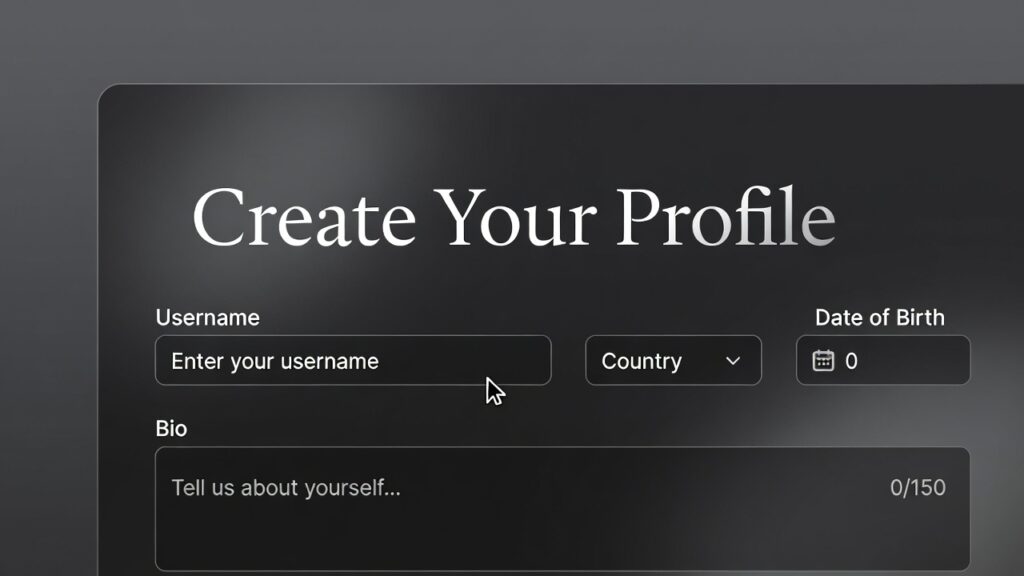
Step 4: Upload Avatar, Cover Photo & ID Verification
1. Upload a clear, high-quality avatar (profile picture) — preferably a face or upper-body photo that represents your brand.
2. Upload an attractive cover/banner image (lifestyle shot, professional portrait, or themed photo that matches your niche).
3. Upload a valid government ID for verification (passport, national ID card, or driver’s license).
Make sure the photo is clear, all corners are visible, and the name matches your account.
Verification usually takes 24–48 hours after you finish the full process.
Step 5: Set Your Subscription Price & Auto Message
1. Choose your monthly subscription price (or start with free if you want to build an audience first).
Most successful creators start between $9.99 – $29.99 depending on their niche and content quality.
2. Enable and write an auto-message that new subscribers receive immediately after joining.
Example: “Welcome to my exclusive world! Thank you for supporting me. Here’s a special gift for new VIPs…”
Step 6: Upload Your First 3 Posts and Publish
1. Upload at least three high-quality posts (photos or short videos).
2. Add captions that tease exclusive content.
3. Hit Publish.
After publishing your first three posts, submit the application. You will receive a verification email within 24–48 hours confirming your creator status.
How to Optimize Your Profile After Approval
Once approved, return to your profile and fine-tune these elements:
1. Write a High-Converting Bio
• Keep it under 150–200 characters.
• Mention your niche + what subscribers get.
• Add a soft call-to-action.
Example: “Lifestyle model & content creator | Exclusive photos, customs & private chats | Your VIP experience starts here ”
2. Use Consistent Branding
Avatar, cover, and post style should match your Instagram/TikTok aesthetic so fans recognize you immediately.
3. Pricing Strategy Tips
• Start slightly lower to gain first subscribers, then raise the price after 20–30 paid fans.
• Offer limited-time discounts during platform promos (e.g., 8/8 Mega Promo).
4. Pin Your Best Content
Pin 1–2 of your strongest posts at the top of your profile so new visitors see your best work first.
5. Enable Tips & Private Messaging
Make sure paid messages and tips are activated so you can earn beyond subscriptions.
6. Add a Welcome Series
Set up a sequence of welcome messages or locked content for new subscribers to increase retention and early tips.
Common Mistakes to Avoid
• Using blurry or poorly lit photos
• Leaving the bio empty or generic
• Setting the subscription price too high before having content
• Uploading only 1–2 posts during application
• Using a username that is hard to remember or spell
Final Checklist Before You Go Live
• Account verified
• Professional avatar + cover uploaded
• Bio written and optimized
• Subscription price set
• Auto-welcome message activated
• At least 5–10 high-quality posts published
• Tips and private messaging enabled
Your profile is now ready to convert followers into paying subscribers.
Ready to start?
Create your free account here: https://exantria.com/signup
Once your profile is live, check out our other guides on how to drive Instagram and TikTok traffic safely to your eXantria page.
Welcome to the eXantria creator community — we’re excited to see you succeed!